
Beginner's Guide to a Green Pool Rescue
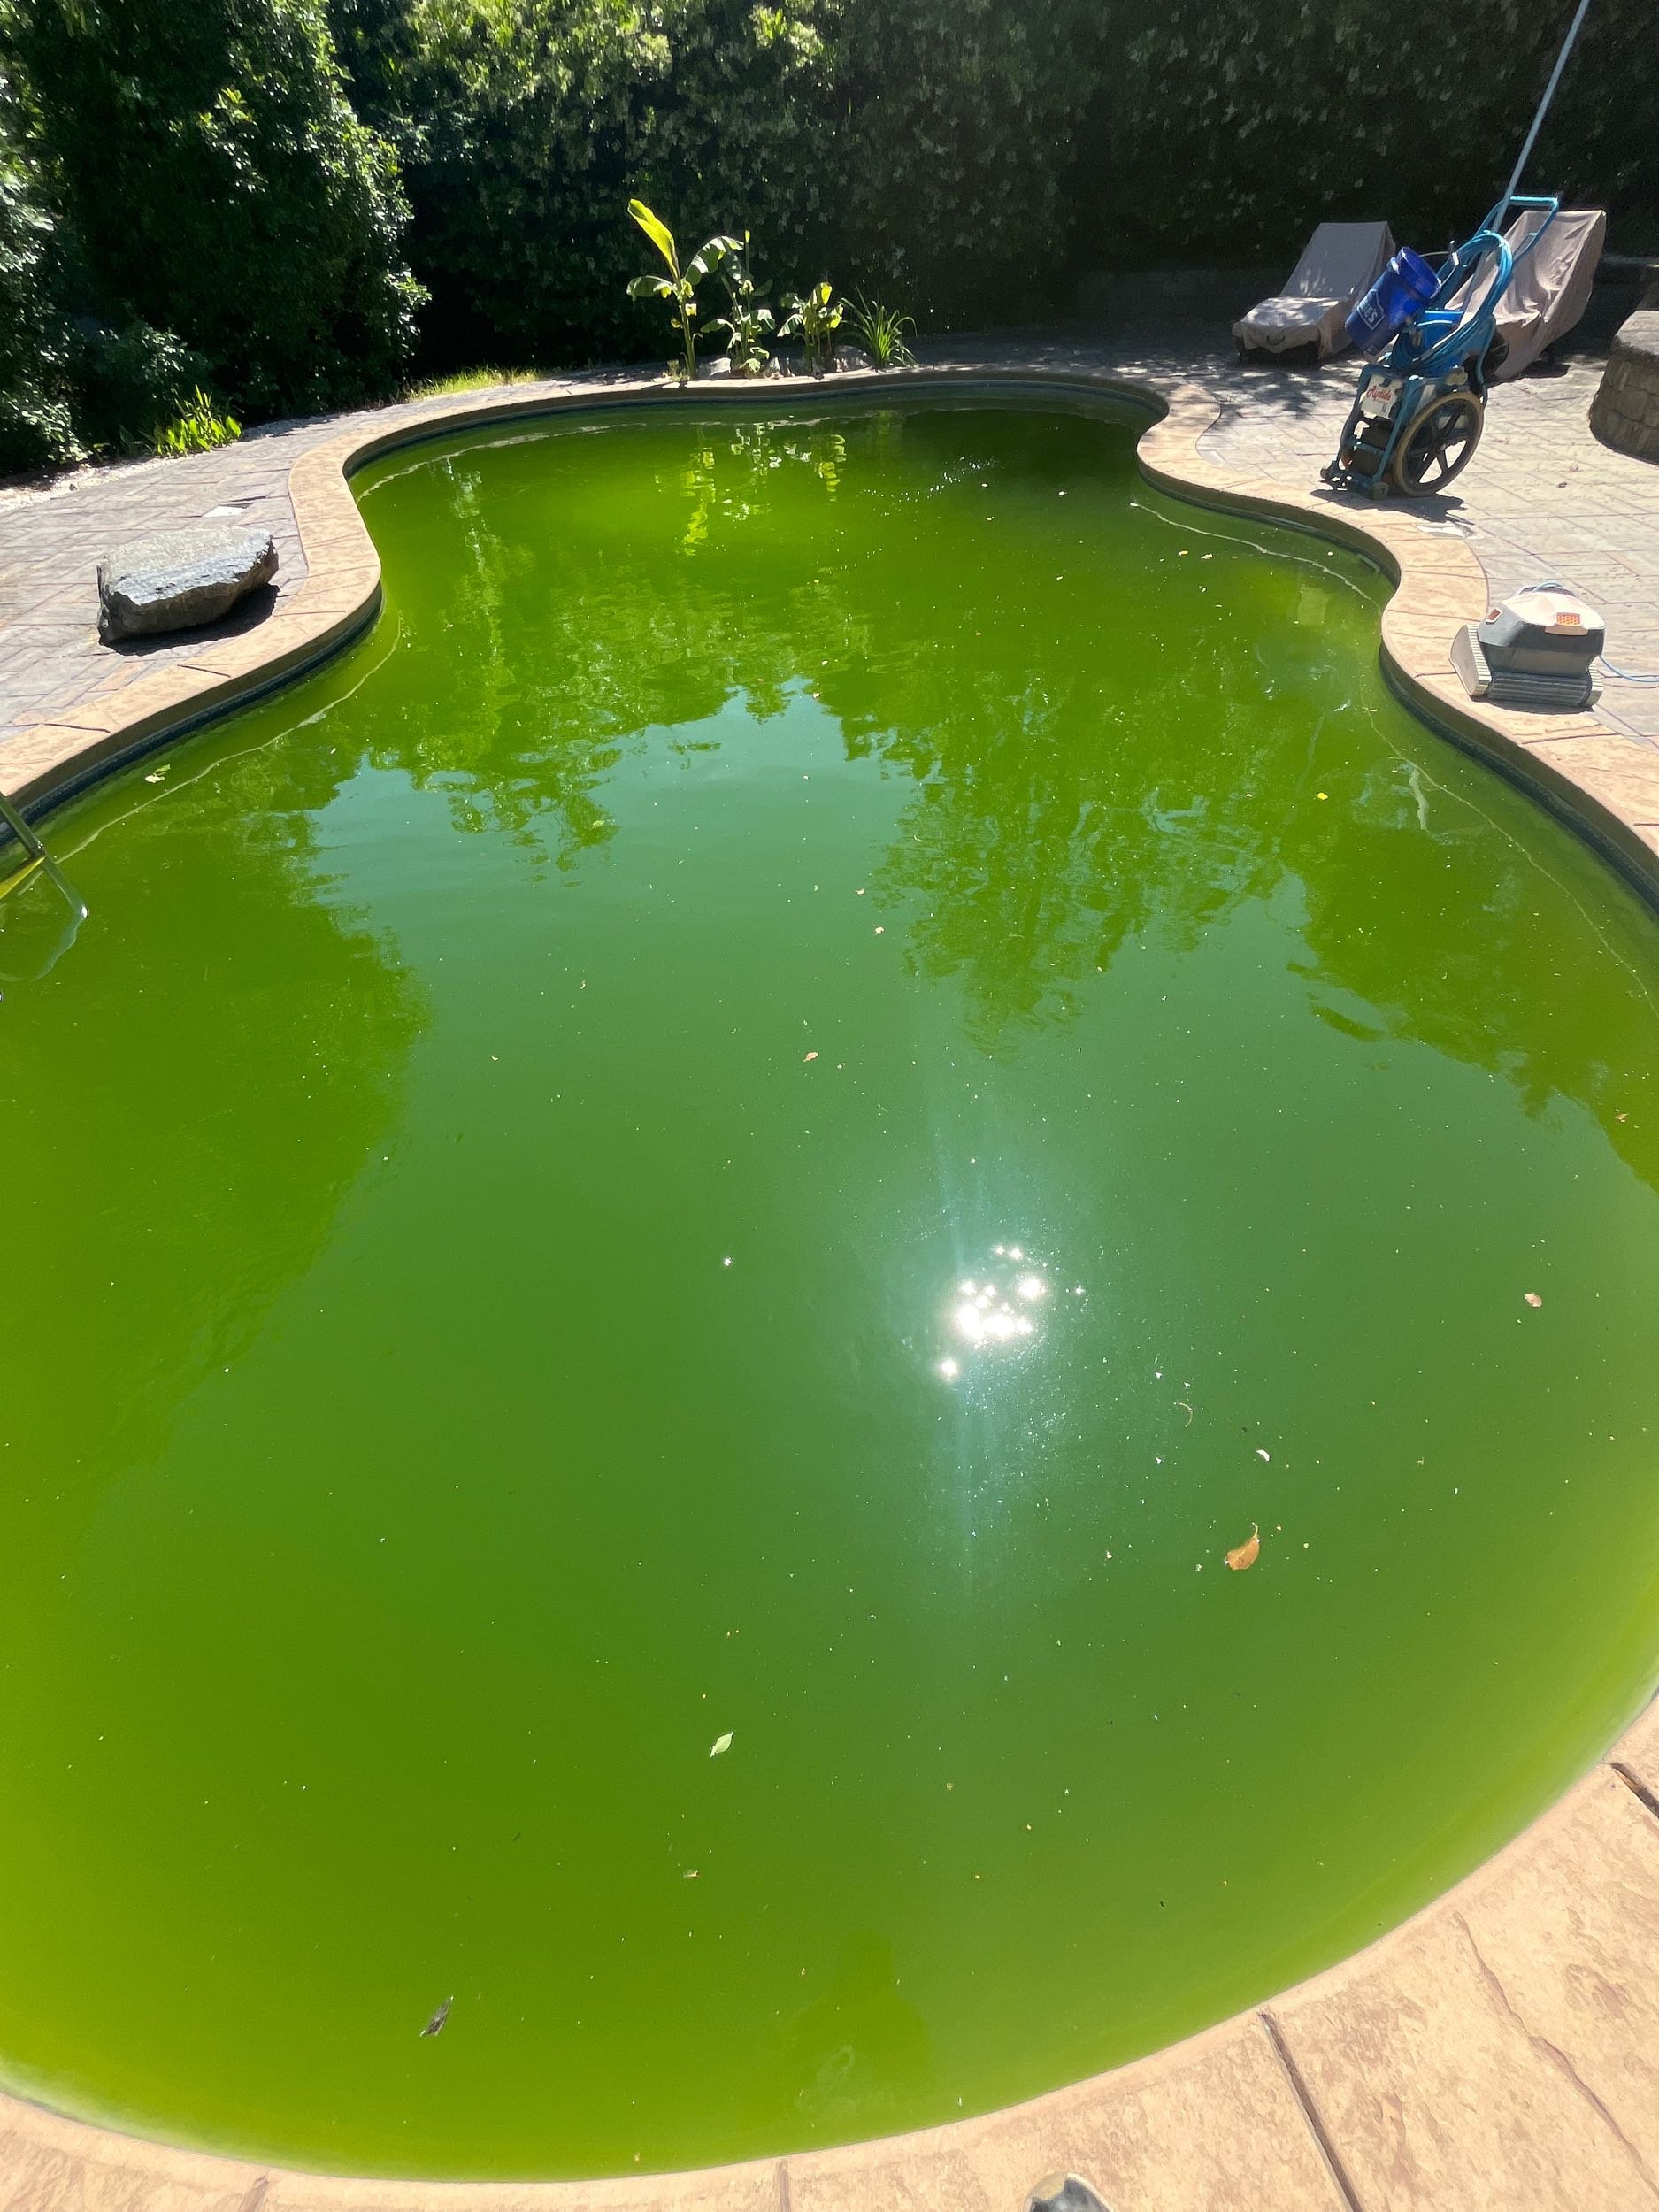
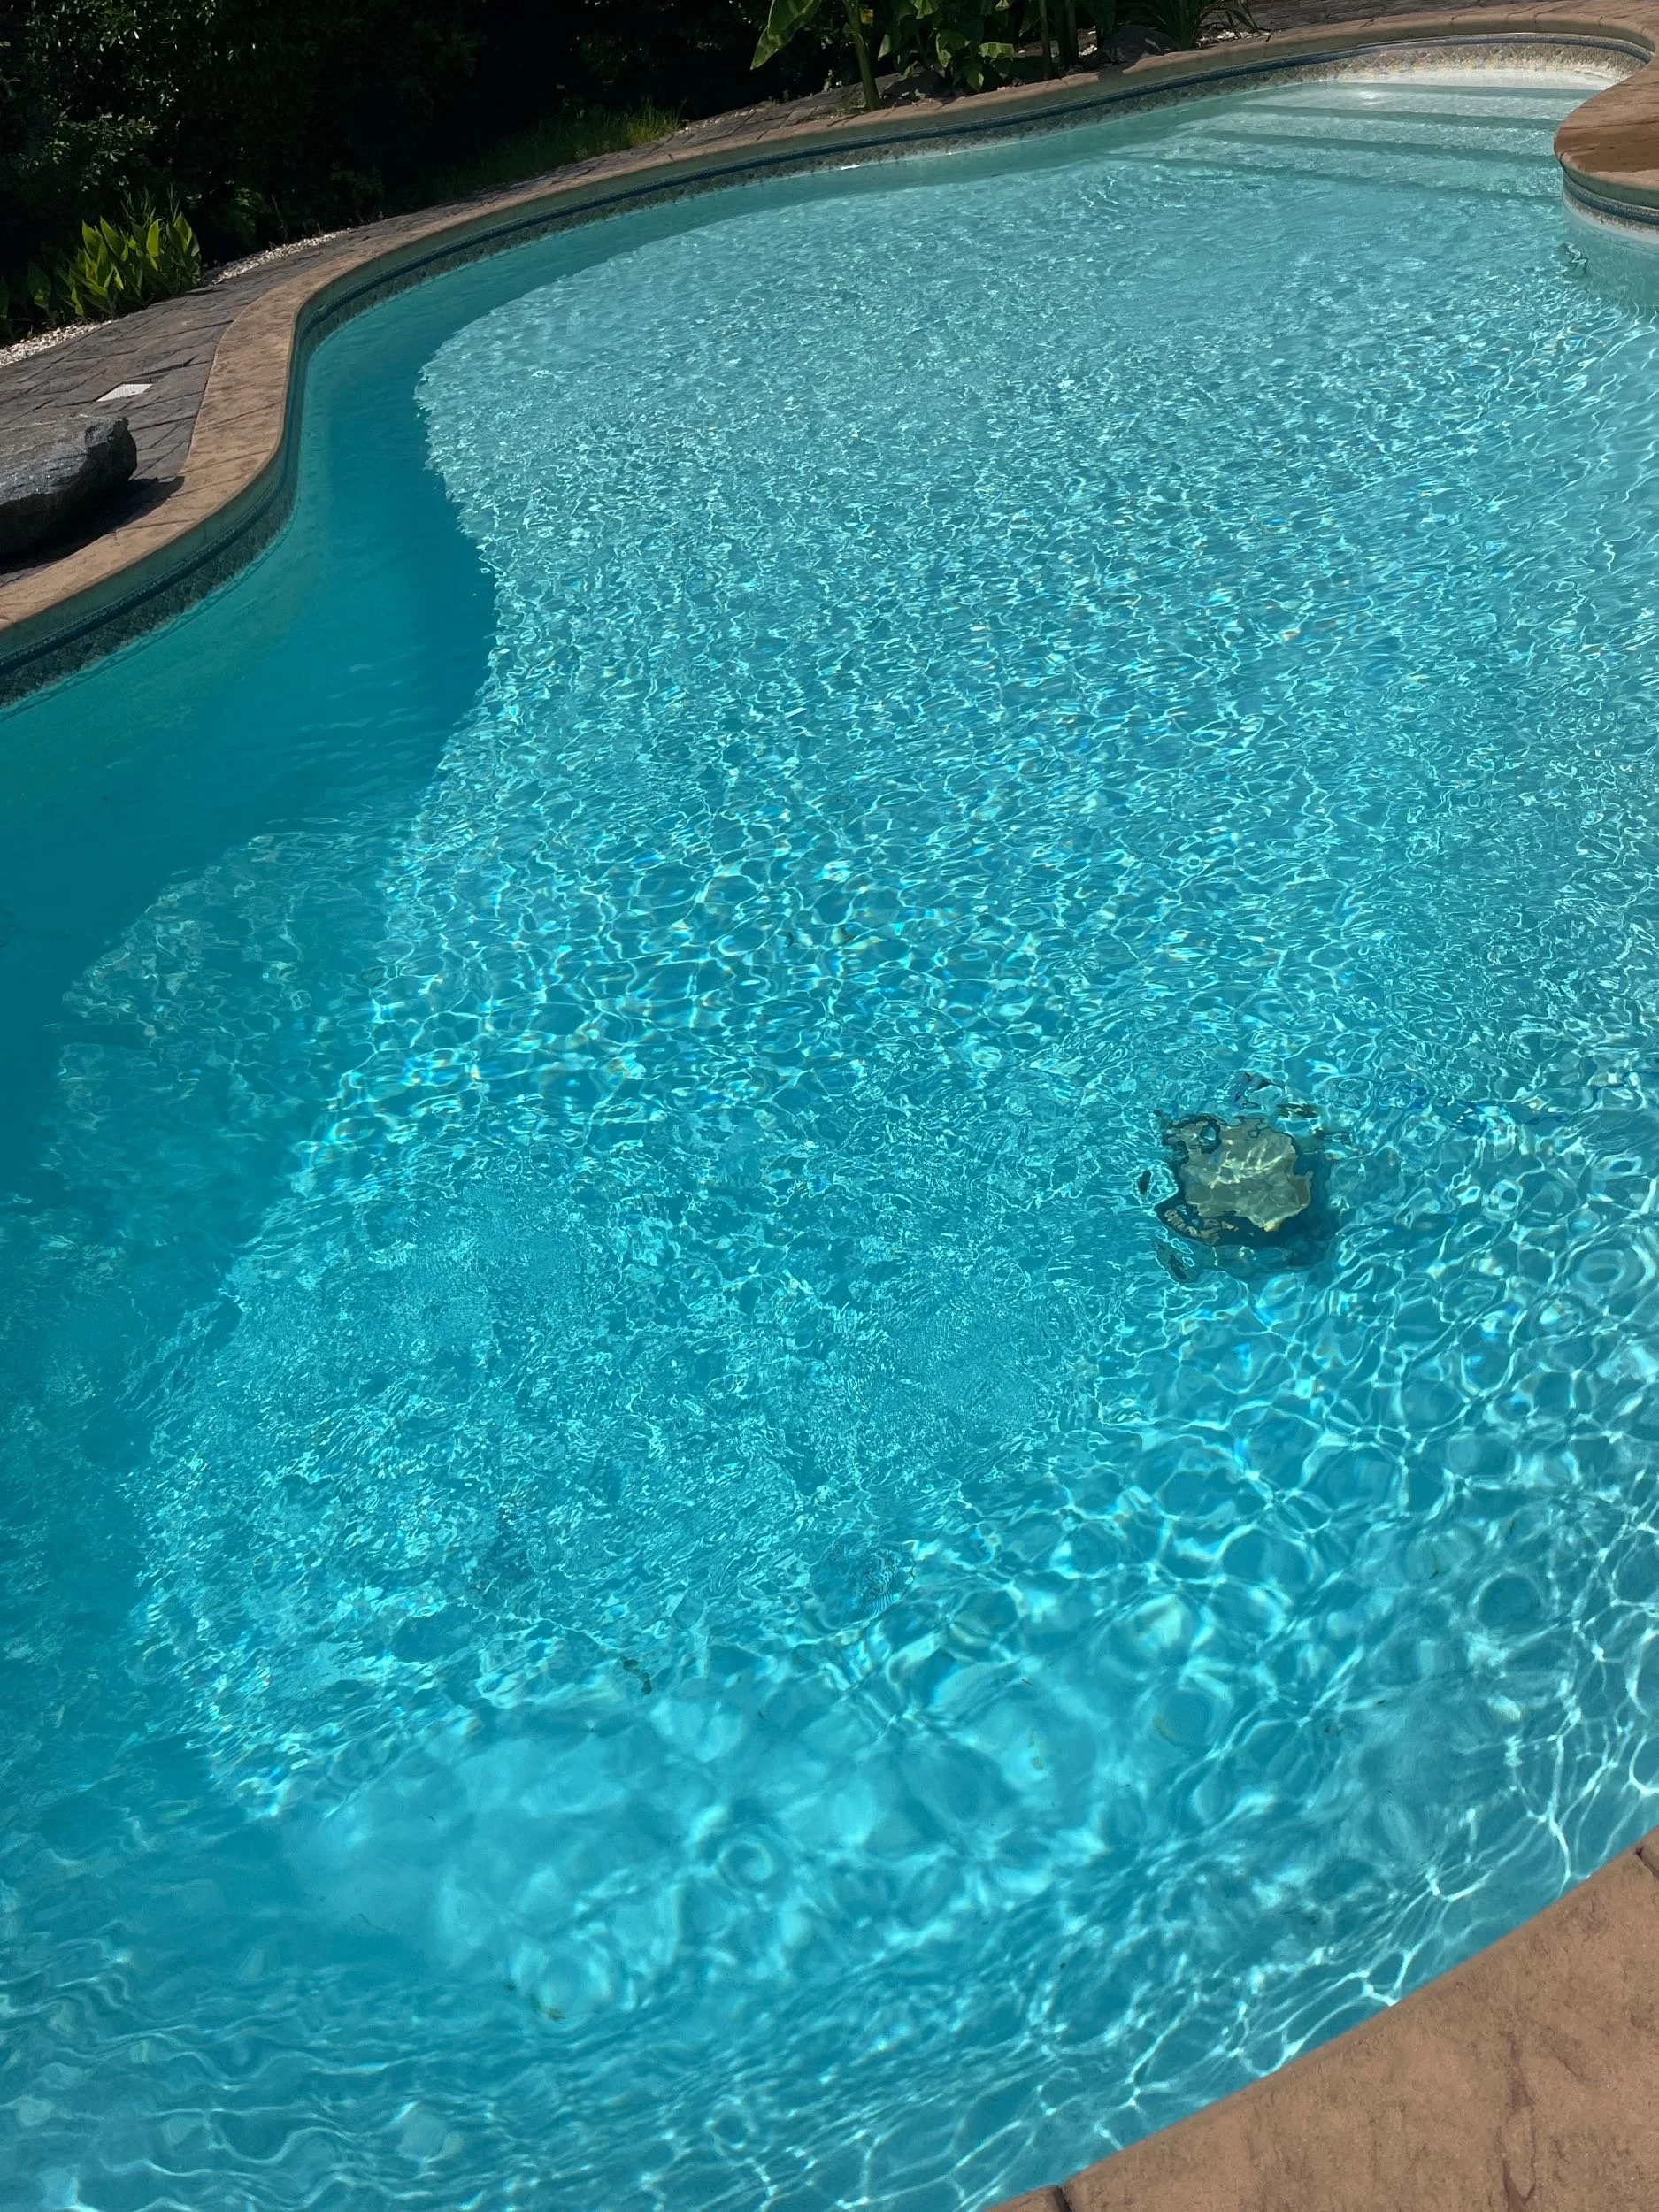
A green pool usually means algae has started growing because the water does not have enough effective chlorine. The good news: most green pools can be restored with careful testing, cleaning, chlorination, and filtration.
Before You Begin: Safety First
Do not swim in the pool until the water is clear and the chlorine and pH are back within the safe range.
Wear gloves and safety glasses when handling pool chemicals.
Read the complete label on every chemical before using it.
Never mix pool chemicals together.
Never mix chlorine with acid. This can create dangerous toxic gas.
Only pre-dissolve a chemical when its label specifically tells you to. When directed, add the chemical to water—never pour water onto the chemical.
What You Will Need
A reliable pool-water test kit
A pool brush
A leaf net or skimmer
A pool vacuum
Chlorine or pool shock appropriate for your pool
pH-adjusting chemicals, if needed
Clean filter equipment
Gloves and safety glasses
Before buying chemicals, know approximately how many gallons your pool holds. The correct amount depends on the pool’s size, current water readings, and the strength of the product.
Step 1: Remove Leaves and Debris
Use a leaf net or skimmer to remove as much debris as possible.
Pay special attention to:
The pool floor
Steps and benches
Skimmer baskets
The pump basket
Leaves, dirt, and other organic material use up chlorine. Removing them first allows the treatment to work more effectively.
Step 2: Check the Pump and Filter
Make sure the water is circulating properly.
Empty the skimmer and pump baskets.
Confirm that water is flowing through the return jets.
Clean or backwash the filter if the pressure is unusually high.
Make sure the pool’s water level is high enough for the pump to operate correctly.
Do not continue running a pump that is dry, leaking badly, or making unusual noises.
Step 3: Test the Water
Test at least:
Free chlorine
pH
Total alkalinity
Cyanuric acid, also called stabilizer
A liquid drop-based test kit is usually more accurate than test strips. CDC guidance recommends regularly testing chlorine and pH; it identifies a pH range of 7.0–7.8 for normal residential-pool operation.
For a green-pool cleanup, do not guess at chemical amounts. Your chlorine treatment must account for both the pool volume and stabilizer level.
Step 4: Adjust the pH First
Before adding a large chlorine treatment, adjust the pH according to the directions on your testing system and chemical label.
Many pool-care systems begin algae treatment with the pH near the lower end of the normal operating range, often around 7.2–7.4. Chlorine becomes less effective as pH rises, particularly above 8.0.
Add only one chemical at a time. Allow it to circulate and retest before adding something else.
Step 5: Brush the Entire Pool
Brush every surface thoroughly:
Walls
Floor
Steps
Corners
Ladders
Behind lights
Around return jets
Inside the skimmer opening
Brushing loosens algae from the surfaces so chlorine and filtration can reach it.
Step 6: Add the Chlorine Treatment
Use a chlorine product approved for your pool type and follow its label exactly.
The amount needed depends on:
Pool volume
Current free-chlorine reading
Cyanuric-acid level
Product strength
Severity of the algae
Do not simply add several bags of shock without calculating the correct amount. Too little may not clear the algae, while careless overuse can damage surfaces or equipment and create unsafe water.
Keep everyone out of the pool while chemicals are being added. Never combine different chlorine products in a bucket, feeder, or measuring container.
Step 7: Run the Pump and Filter Continuously
During the rescue process, keep the water circulating continuously unless your equipment manufacturer advises otherwise.
The chlorine kills the algae, but the filter removes the dead material from the water.
Check the filter pressure frequently. Green pools can clog filters quickly.
Sand filter: Backwash when the pressure reaches the manufacturer’s recommended level.
Cartridge filter: Remove and rinse the cartridge when the pressure rises.
DE filter: Backwash or clean it according to the manufacturer’s instructions, then replace the correct amount of DE.
Step 8: Retest and Maintain the Chlorine
Test the water several times during the cleanup period.
A single chlorine dose may be consumed quickly by heavy algae. Continue maintaining the treatment level recommended for your pool’s stabilizer reading and the product you are using.
Each time you check the pool:
Test the chlorine.
Add only the calculated amount needed.
Brush the pool again.
Check the filter pressure.
Remove any new debris.
This repeated testing and maintenance is what clears the pool—not simply adding one large dose and walking away.
Step 9: Vacuum the Dead Algae
As the algae dies, the water may change from green to cloudy blue, gray, or white. This is normal.
Vacuum the settled material slowly.
When possible, heavily contaminated water may be vacuumed to “waste,” which sends it out of the pool instead of through the filter. Watch the water level carefully and never allow the pump to run dry.
Some pools, including certain cartridge-filter systems, may not have a waste setting.
Step 10: Continue Until the Pool Is Clear
The rescue is not complete simply because the water is no longer green.
Continue filtering, brushing, vacuuming, and testing until:
The water is completely clear.
You can clearly see the bottom and main drain.
Algae is no longer collecting on the surfaces.
The filter pressure remains stable.
Chlorine holds instead of disappearing quickly.
pH and chlorine have returned to the normal range recommended for your pool.
Do not allow swimming until the water is clear, visibility is good, and all chemical readings meet the directions for your pool and treatment products.
When to Call a Pool Professional
Stop and ask for professional help when:
You cannot see the bottom of the pool.
The pool is dark green, black, or swamp-like.
The pump will not prime or circulate water.
You suspect black algae or metal staining.
The stabilizer or calcium level is extremely high.
The pool has a vinyl liner and you are concerned about bleaching.
You are unsure which chemicals were previously added.
Chemical fumes, smoke, heat, bubbling, or a spill occurs.
The pool is still green after several rounds of correct testing and treatment.
After the Pool Is Clear
To help prevent another algae bloom:
Test chlorine and pH regularly.
Keep baskets clean.
Brush the pool weekly.
Maintain proper circulation.
Clean the filter when needed.
Remove leaves promptly.
Do not allow the chlorine level to fall below the range appropriate for your stabilizer level.
Consistent, simple maintenance is much easier—and usually much less expensive—than another full green-pool rescue.